Grey oyster mushrooms are one of those ingredients that look fancy but are surprisingly forgiving. They have a mild, almost seafood-like flavor (think scallops or clams) and a tender yet meaty texture that holds up beautifully in a hot pan. Unlike the fussy morel or the expensive porcini, grey oysters are workhorses. They're affordable, widely available, and a dream for both beginner cooks and seasoned gardeners looking to dip their toes into home cultivation.
I've been cooking with and growing mushrooms for over a decade, and I still think the grey oyster (Pleurotus ostreatus) is the perfect gateway fungus. This guide isn't just a list of facts you can find anywhere. It's the stuff I've learned through trial, error, and a few failed batches of substrate.
What You'll Find in This Guide
What Makes Grey Oysters Special?
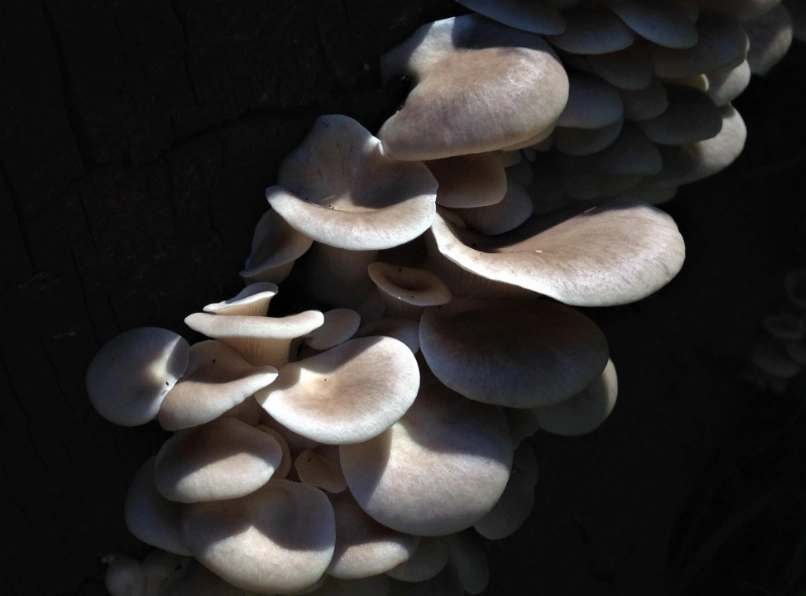
Walk into any decent grocery store or Asian market, and you'll likely see clusters of grey, shell-shaped mushrooms. That's your oyster. They grow in shelf-like formations on dead or dying hardwood trees in the wild. The color can range from a dark slate grey to a soft, almost blue-grey, lightening at the edges.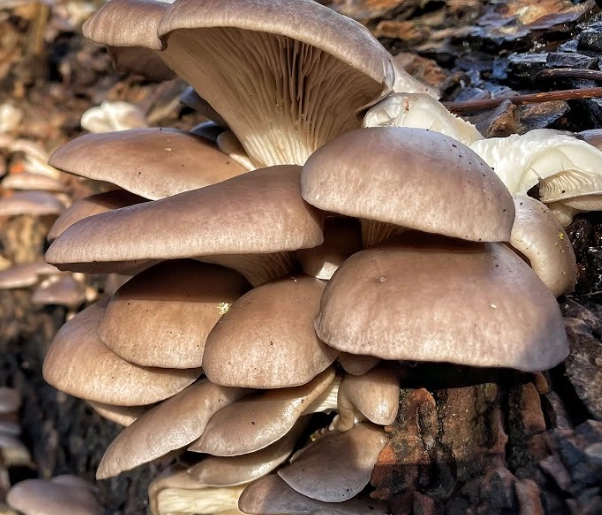
Nutritionally, they punch above their weight. They're a great source of protein for a vegetable, packed with B vitamins, and contain compounds like beta-glucans that are studied for their immune-supporting properties (research from institutions like Penn State University has explored these benefits). They're also low in calories and fat.
Here’s a quick look at how they stack up against a couple of other common mushrooms:
| Mushroom | Flavor Profile | Texture When Cooked | Best For |
|---|---|---|---|
| Grey Oyster | Mild, savory, slightly sweet/seafood-like | Tender, velvety, holds shape | Stir-fries, soups, pasta, grilling |
| White Button | Very mild, earthy | Soft, can become rubbery if overcooked | Salads, sauces, general use |
| Shiitake | Strong, earthy, umami-rich | Meaty, chewy | Broths, braises, as a meat substitute |
The real magic is in their texture. Get the cooking right, and they're succulent. Get it wrong, and they can be a bit slimy. Don't worry, I'll make sure you avoid that.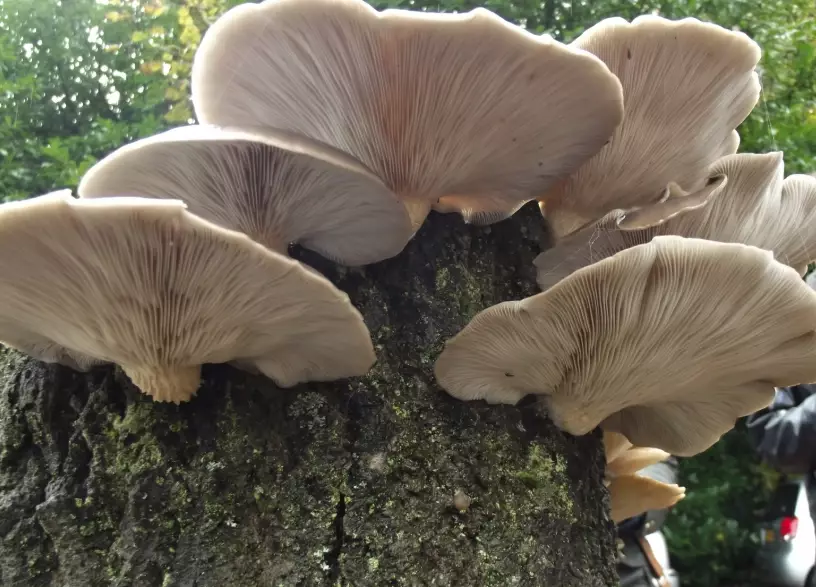
How to Buy and Store Them Right (The Grocery Store Test)
This is where most people go wrong before they even get to the kitchen. You're at the store, staring at a pile of grey oyster mushrooms. What do you look for?
First, use your eyes and nose. Pass on any clusters that look wet, slimy, or have dark, sunken spots. That's decay. The caps should be firm and dry to the touch, with edges that are mostly intact. Give them a gentle sniff. They should smell fresh, earthy, and clean. If they smell sour, fishy, or just "off," put them back. I've made that mistake—thinking I could cook out the funk. You can't.
Second, think about form. You'll usually find them sold in large clusters still attached at the base. That's fine. Sometimes you'll see them pre-sliced in trays. The pre-sliced ones are convenient but often older and have lost more moisture. Go for the whole cluster if you can.
Storing them is critical. Do not, I repeat, do not put them in a sealed plastic bag and forget about them in the fridge. They'll sweat and rot in days. Here's what works:
- Paper Bag Method: Place them in a paper bag, fold the top over, and put it in the main part of your fridge (not the crisper, which is often too humid). The paper absorbs excess moisture. They'll last 5-7 days this way.
- Breathable Container: A container with a lid slightly ajar or one of those vented produce containers works well too.
Need to keep them longer? Sauté them in a dry pan until they release their water and brown slightly. Let them cool, then freeze in a single layer on a baking sheet before transferring to a freezer bag. They'll keep for months.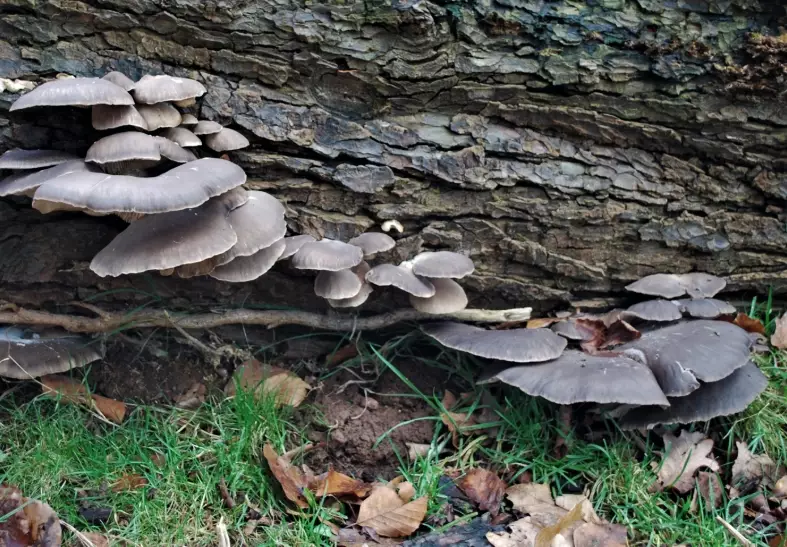
Mastering the Art of Cooking Grey Oysters
Cooking grey oyster mushrooms is less about complex techniques and more about understanding one principle: moisture management. They contain a lot of water. If you crowd them in a cold, oily pan, you'll boil them in their own juice and end up with a soggy, disappointing mess.
The Golden Rule for Sautéing
Heat your pan (stainless steel or cast iron is best) over medium-high heat until it's properly hot. Add a high-smoke-point oil (avocado, grapeseed) or butter. Wait for the oil to shimmer. Now add your mushrooms in a single layer. Don't stir them for a minute or two! Let them sear and get some color. You'll hear them sizzle. Once they've browned on one side and shrunk down, give them a toss. Season with salt only after they've browned—salt draws out moisture early on.
That's it. That single step of not crowding and letting them sear transforms them.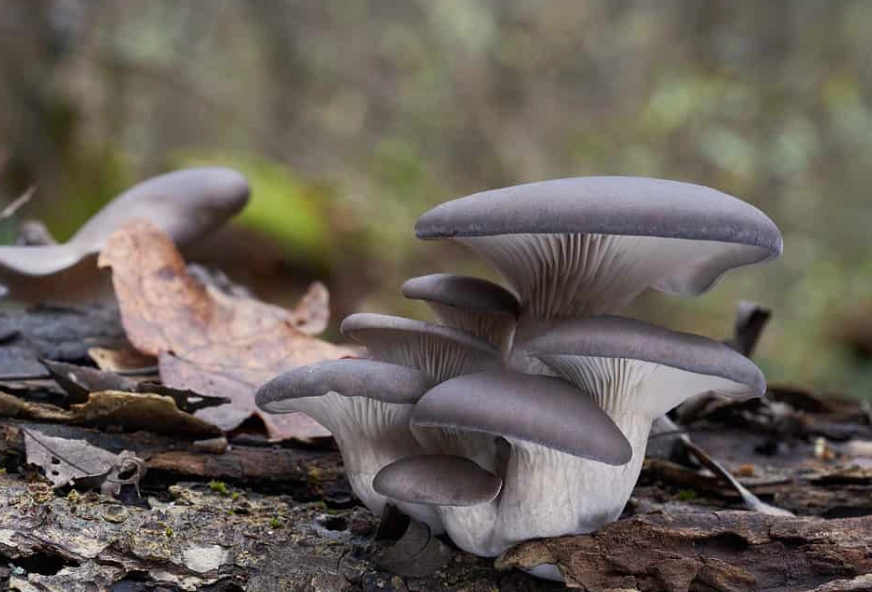
Two Can't-Miss, Simple Recipes
Let's get specific. Here are two ways I cook them at least twice a month.
1. The 10-Minute Garlic & Herb Sauté: This is my weeknight staple. Sauté one large cluster of torn grey oysters (about 200g) using the method above. In the last minute, add 3 minced garlic cloves and a pinch of red pepper flakes. Finish with a handful of chopped fresh parsley, a squeeze of lemon juice, and a knob of cold butter swirled in off the heat. Toss with cooked pasta or pile on toasted sourdough.
2. Hearty Miso & Oyster Mushroom Soup: This is comfort in a bowl. Sauté the mushrooms and set aside. In the same pot, simmer 4 cups of vegetable or dashi broth with 2 tbsp of white miso paste (don't let it boil hard after adding miso). Add the mushrooms back in along with some soft tofu cubes and a handful of spinach. Heat through. The umami from the miso and the mushrooms is incredible.
The Realistic Guide to Growing Your Own
Growing grey oyster mushrooms at home is easier than you think and wildly satisfying. They're one of the fastest and most reliable mushrooms for beginners. You can buy ready-to-fruit kits online, which are foolproof. But if you want to go a bit deeper, here's the lowdown.
You need three things: spawn (the mushroom "seed"), substrate (the food, usually pasteurized straw or hardwood sawdust pellets), and a growing environment.
The process: mix the spawn into the damp substrate, put it in a container or bag with some air holes, and wait for it to colonize (turn white). This takes 2-3 weeks. Then, you expose it to fresh air, lower the temperature a bit, and mist it to induce pinning (tiny mushrooms forming).
The one parameter most beginners ignore is fresh air exchange (FAE). Oysters are hungry for oxygen. If your growing space is too stagnant, you'll get long, spindly stems and tiny caps. It looks weird and yields less. A small fan on a timer in the room, not blowing directly on the mushrooms, makes a world of difference. I learned this after my first batch looked like a cluster of skinny pencils.
Harvest them by twisting the entire cluster off the substrate when the caps are still slightly curled under, before they flatten out completely.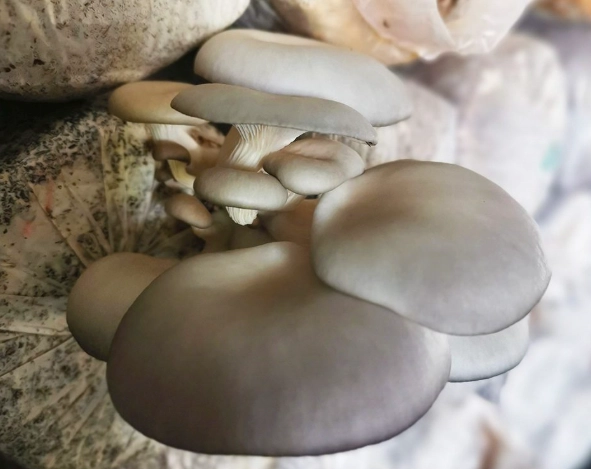
Reader Comments